My Sore Thumb
First the Hedera socks. My sweetheart had some trouble dealing with my camera, so the picture is a little fuzzy. Maybe I'll get a better picture and try to win Knitty's calendar contest.

My sore thumb is from cutting number four plastic with a craft knife. Here in pictures is my attempt to create a self-watering planter.
Materials per planter:
2 RubberMaid-type 10-gallon totes with lids
1 piece PVC (we happened to have a 1.5 inch pipe)
1 "pond basket" - A friend gave me a few pots that her pond plants came in. Take a look at the pictures and see what you can come up with.
A craft knife, a hacksaw with miter box, potting soil, and a drill.
Step 1: I drilled extra holes in the pond basket.
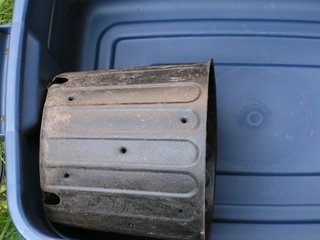
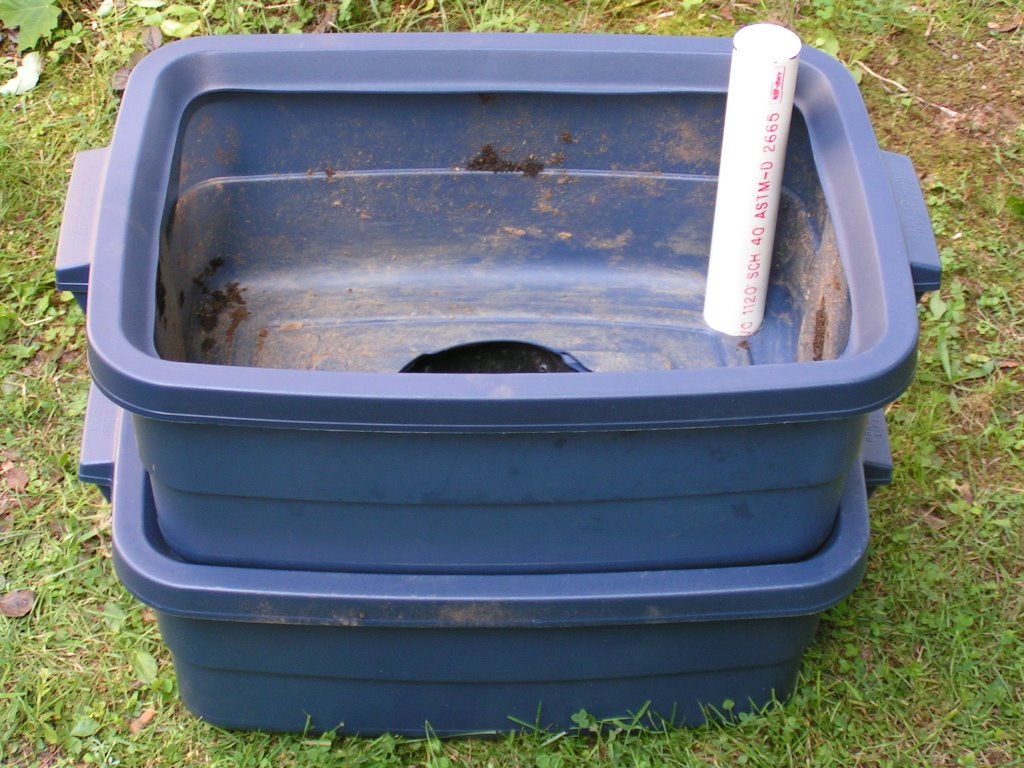
Step 2: I trimmed the height of the pond basket so that when I stood it upright in one tote and put the lid on, the tote didn't either sag or have a bump.
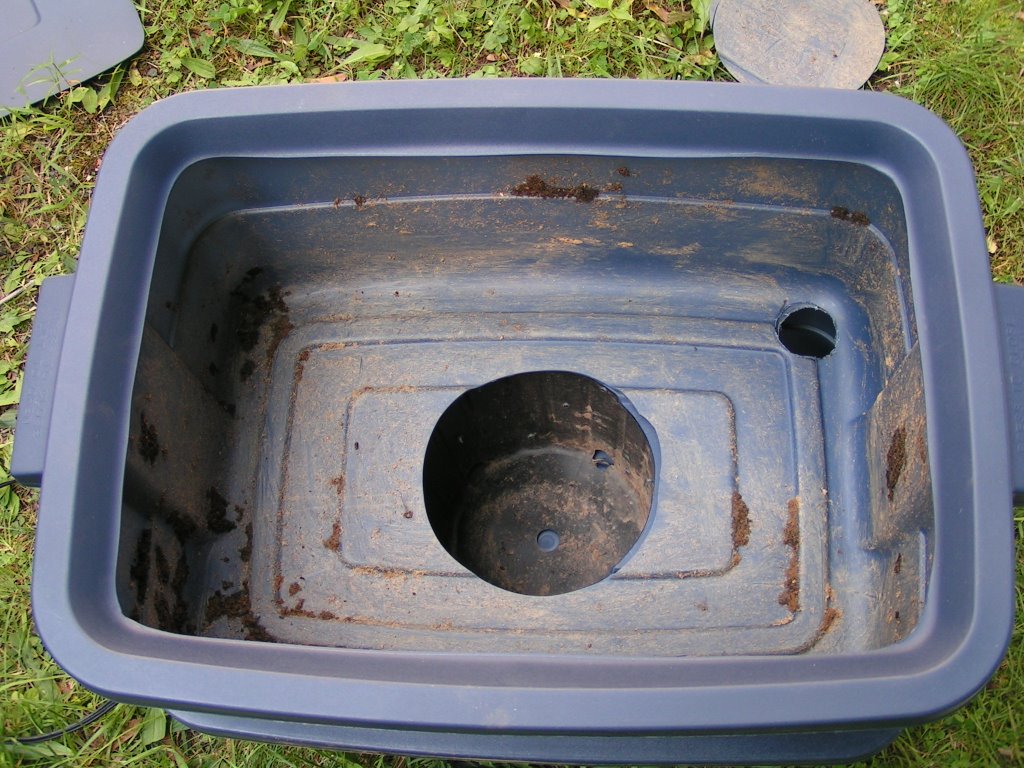
Step 3: I traced the bottom of the pond basket on one of the tops and cut a hole the size of the bottom of the pond basket. I used a craft knife for this, hence my sore thumb. I was proud of myself when I remembered to always cut away from myself.
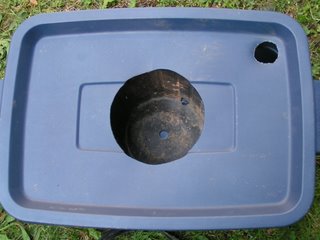
Step 4: I turned the lid over on the bottom of the other tote and traced the hole on it and cut that with the craft knife.

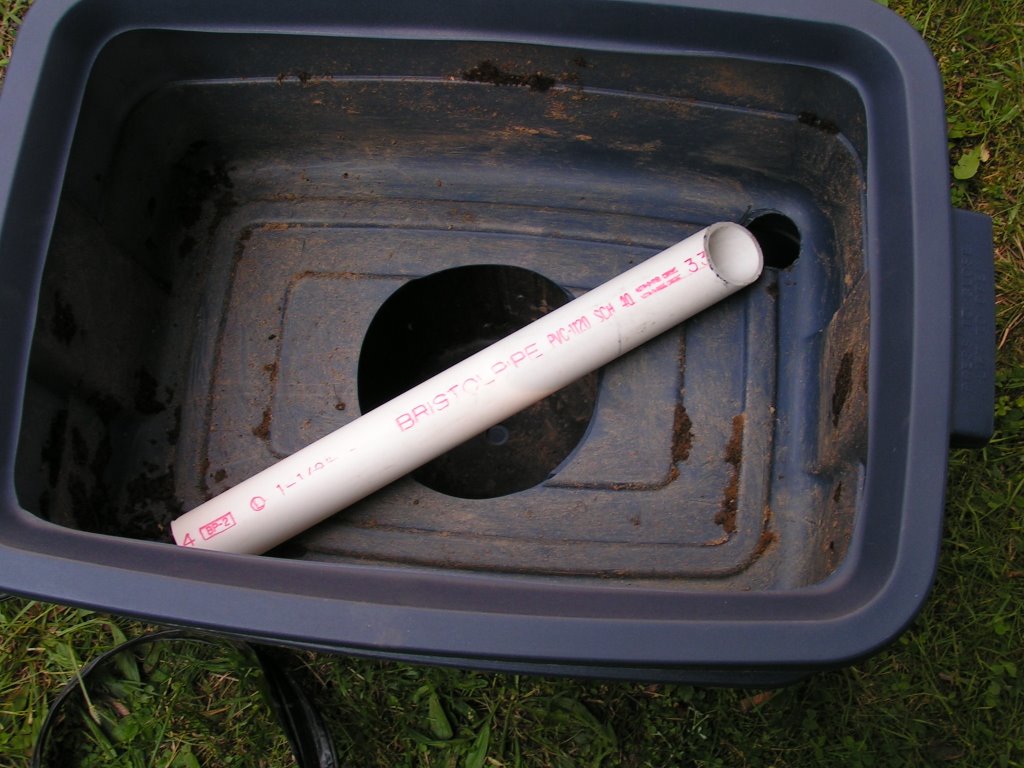
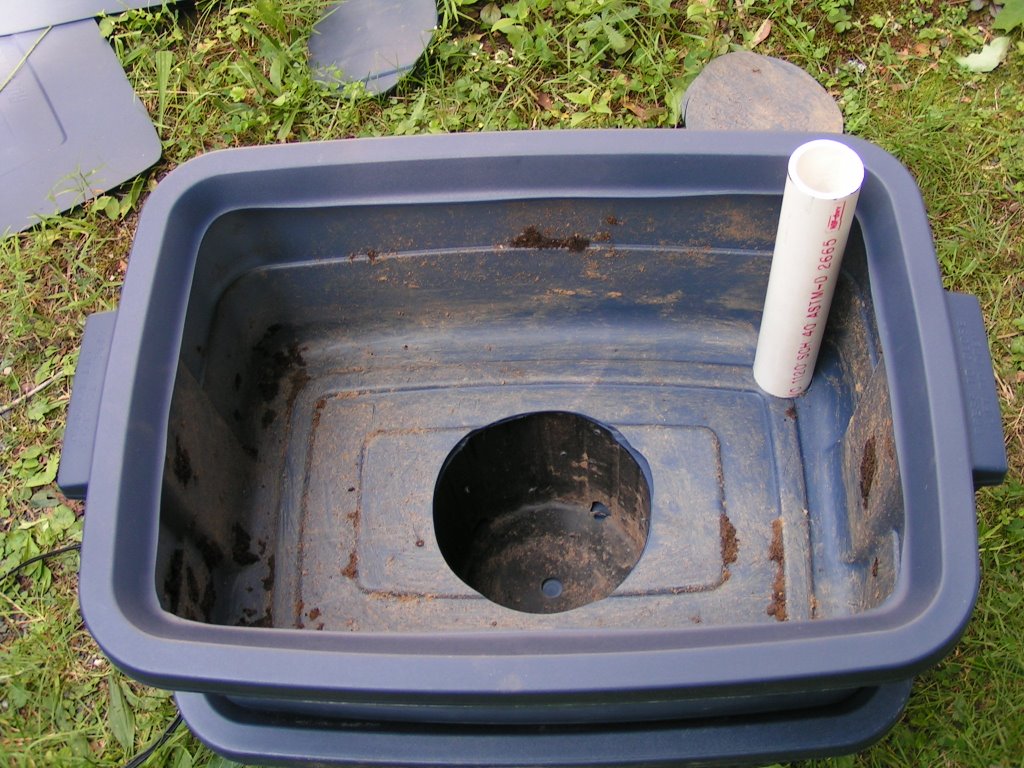
Step 5: My sweetheart cut the pvc pipe at a 45 degree angle at a length a bit more than the height of the two totes stacked one on top of the other. I then cut holes in the corner to put the pipe into.

Step 6: I also cut around the top of the second lid so that I could put it on top of the unit.

Step 7: I forgot to put any plastic mulch or other protective material under the lid. I also forgot to drill a few overflow holes at the top of the bottom planter.

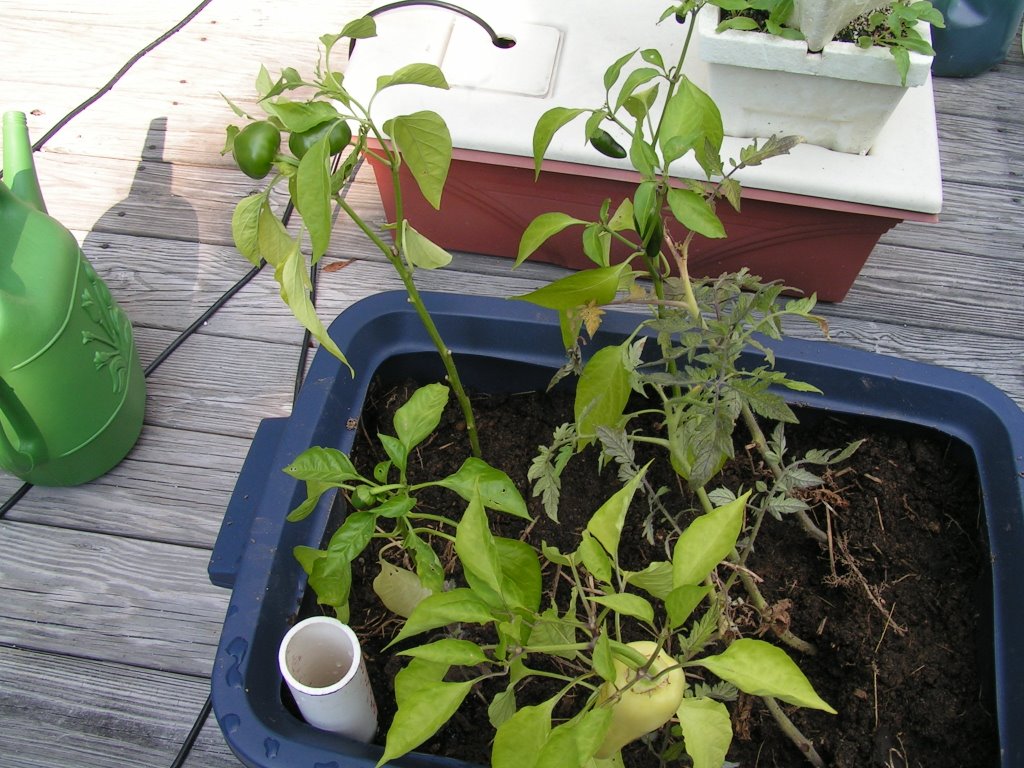
Step 8: I filled it with dirt and put some plants in it.
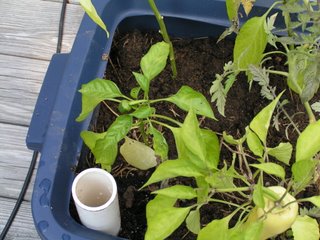
Step 9: I put water in the bottom by pouring it through the PVC pipe.

Oh, and I haven't gotten around to staking the tomatoes, either.
If this doesn't work, I'll whine about it here.

My sore thumb is from cutting number four plastic with a craft knife. Here in pictures is my attempt to create a self-watering planter.
Materials per planter:
2 RubberMaid-type 10-gallon totes with lids
1 piece PVC (we happened to have a 1.5 inch pipe)
1 "pond basket" - A friend gave me a few pots that her pond plants came in. Take a look at the pictures and see what you can come up with.
A craft knife, a hacksaw with miter box, potting soil, and a drill.
Step 1: I drilled extra holes in the pond basket.
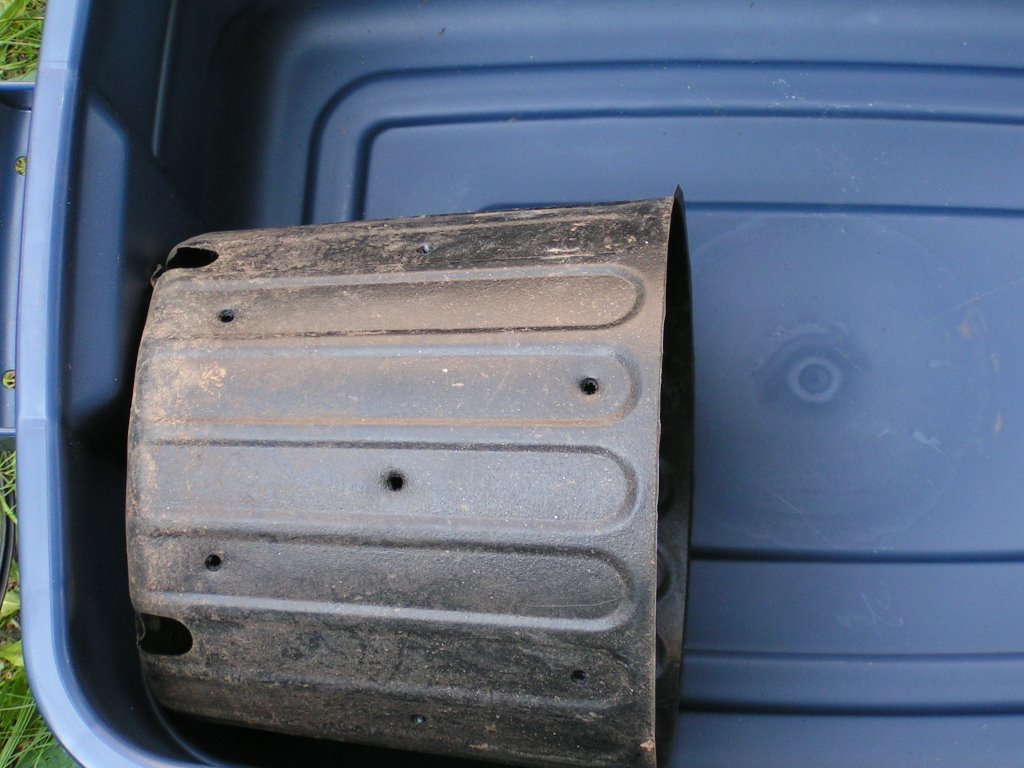
Step 2: I trimmed the height of the pond basket so that when I stood it upright in one tote and put the lid on, the tote didn't either sag or have a bump.
Step 3: I traced the bottom of the pond basket on one of the tops and cut a hole the size of the bottom of the pond basket. I used a craft knife for this, hence my sore thumb. I was proud of myself when I remembered to always cut away from myself.

Step 4: I turned the lid over on the bottom of the other tote and traced the hole on it and cut that with the craft knife.
Step 5: My sweetheart cut the pvc pipe at a 45 degree angle at a length a bit more than the height of the two totes stacked one on top of the other. I then cut holes in the corner to put the pipe into.
Step 6: I also cut around the top of the second lid so that I could put it on top of the unit.
Step 7: I forgot to put any plastic mulch or other protective material under the lid. I also forgot to drill a few overflow holes at the top of the bottom planter.
Step 8: I filled it with dirt and put some plants in it.

Step 9: I put water in the bottom by pouring it through the PVC pipe.
Oh, and I haven't gotten around to staking the tomatoes, either.
If this doesn't work, I'll whine about it here.
posted by Whining Procrastinator at 5:45 PM
![]()

0 Comments:
Post a Comment
<< Home